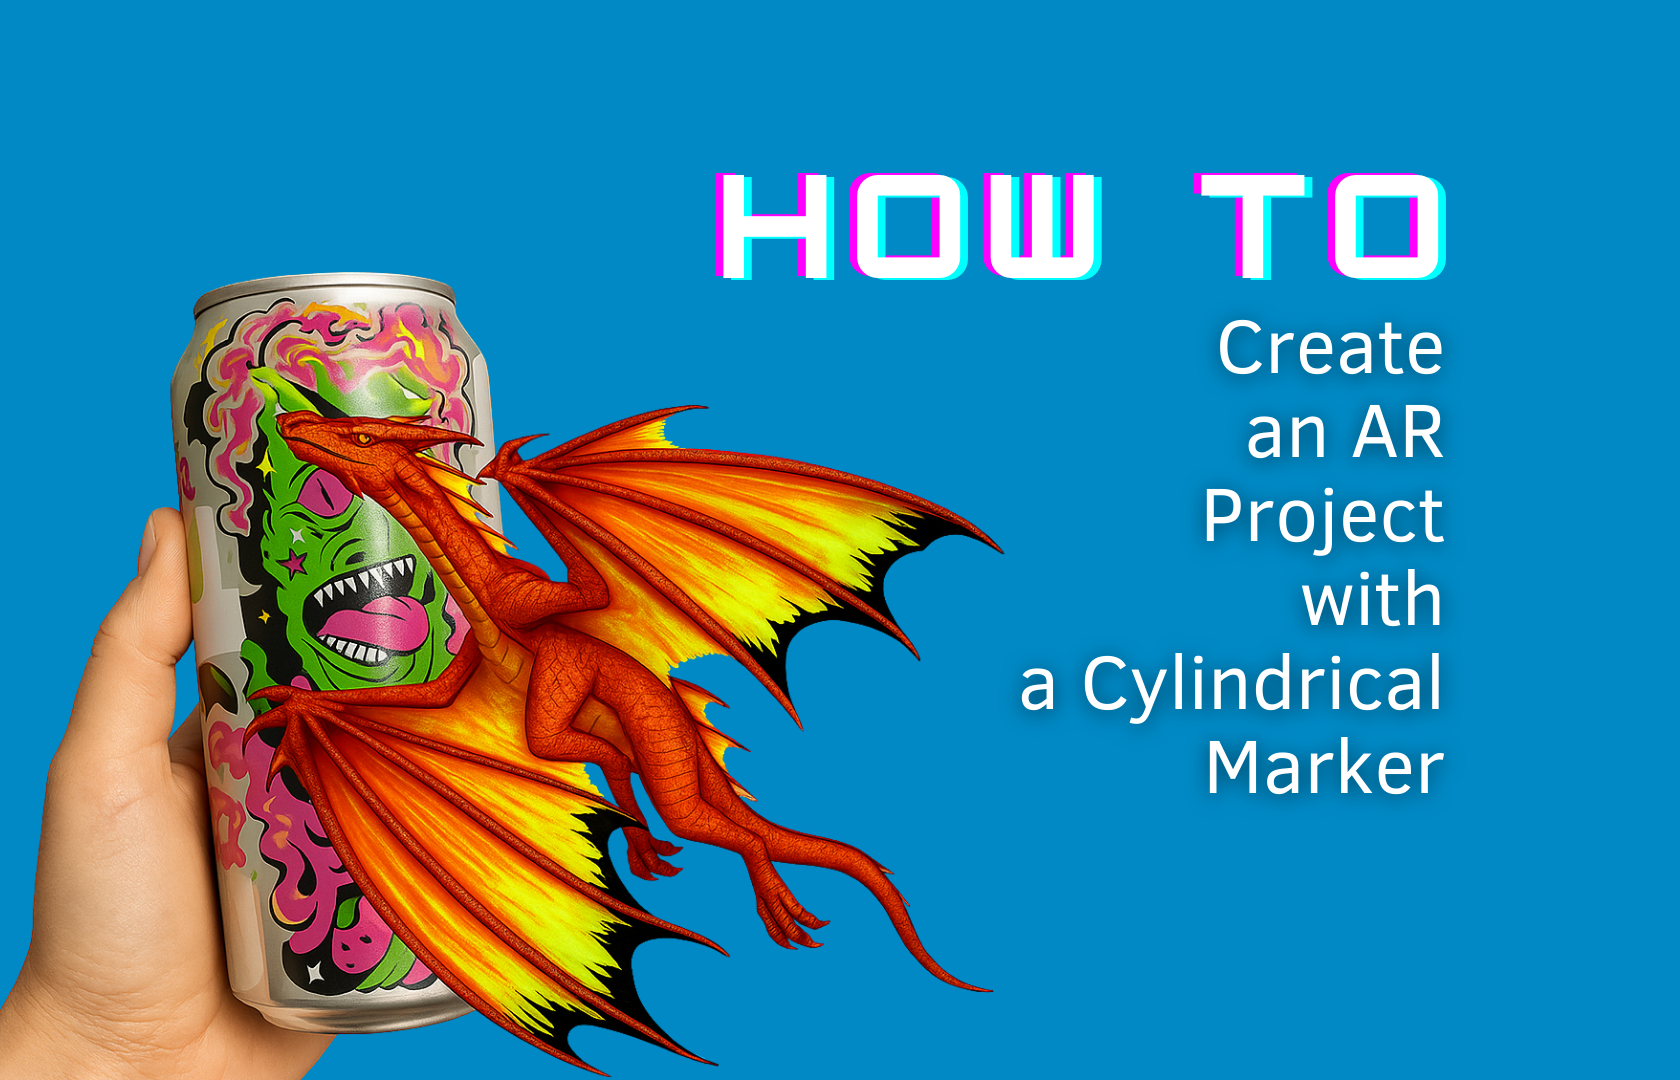
AR has the power to turn everyday packaging — like drink cans, coffee cups, and bottles — into interactive experiences. In this tutorial, you’ll learn how to create an AR experience using a cylindrical marker — for example, the packaging of a drink can — with the AR on a Curved Image tracking feature on MyWebAR. Let’s get started.
Step 1: Create a new project with AR on a Curved Image Tracking
To begin, prepare your image. This should be a flat version of the cylindrical object’s surface.
In our case, we used the packaging of a drink can, prepared as a flat label design.
Then log into your MyWebAR account and click “Create new project”.
From the list of tracking types, choose “AR on a Curved Image”.
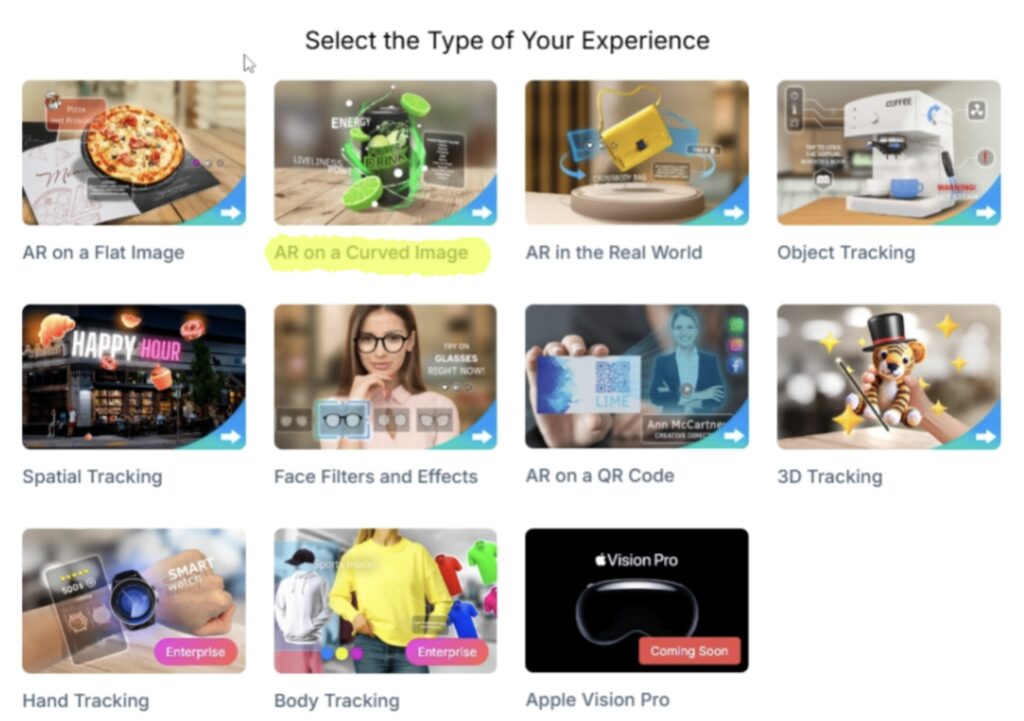
This tracking mode allows AR content to wrap around cylindrical shapes like cans and cups, ensuring a stable and immersive experience.
If your object is not a perfect cylinder — for example, a cup that’s wider at the top — use the “upper radius” and “lower radius” settings to adjust curvature and fit.
These options help the system accurately track conical shapes and ensure a smooth AR overlay.
Step 2: Add a 3D model to the marker
Once your marker is uploaded, it will appear in the editor as a 3D cylinder. Now, it’s time to bring it to life.
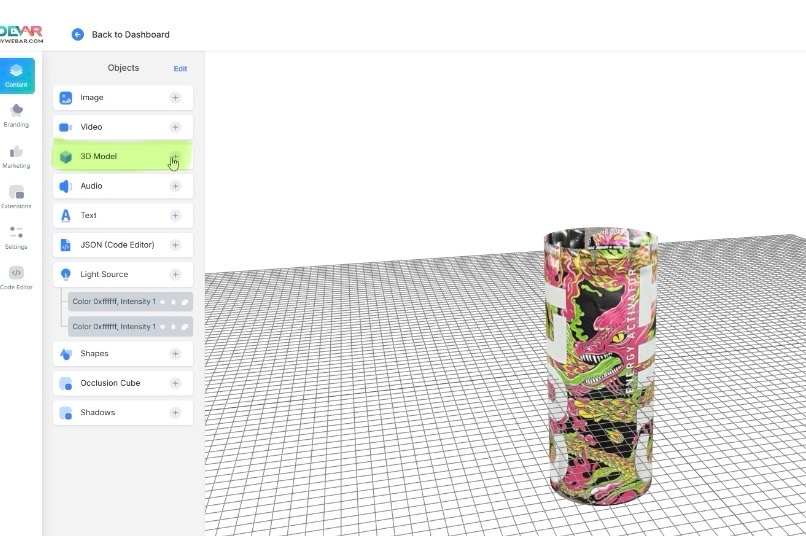
To add a 3D model:
- Click “3D model” in the left-hand panel.
- Click the “+” icon.
- Scroll down and click “Upload”.
- Upload your model in .glb format.
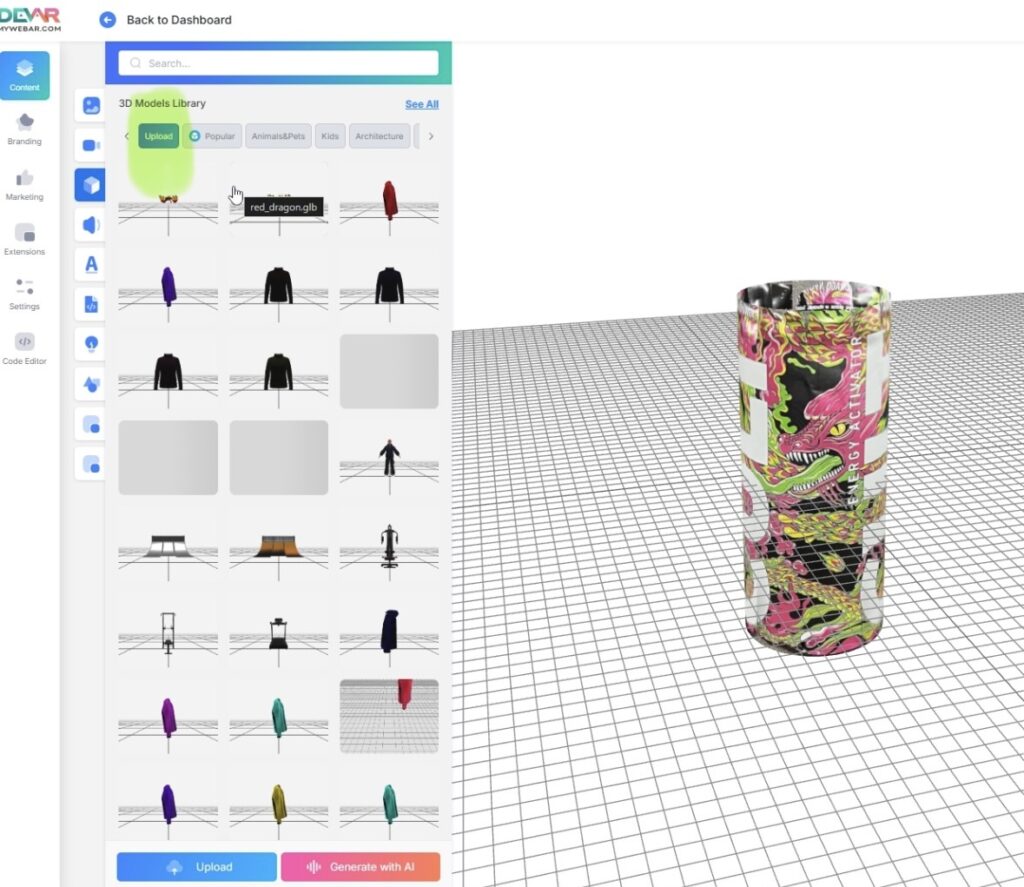
The model will appear in the center of your project, ready to be positioned on the curved surface.
Step 3: Position and scale the 3D model
Use the arrows to move the model around the cylinder and adjust its position.
To scale or rotate the object:
- Use the controls in the right-hand properties panel.
- Make sure the model wraps naturally around the curvature or sits exactly where you want it on the label.
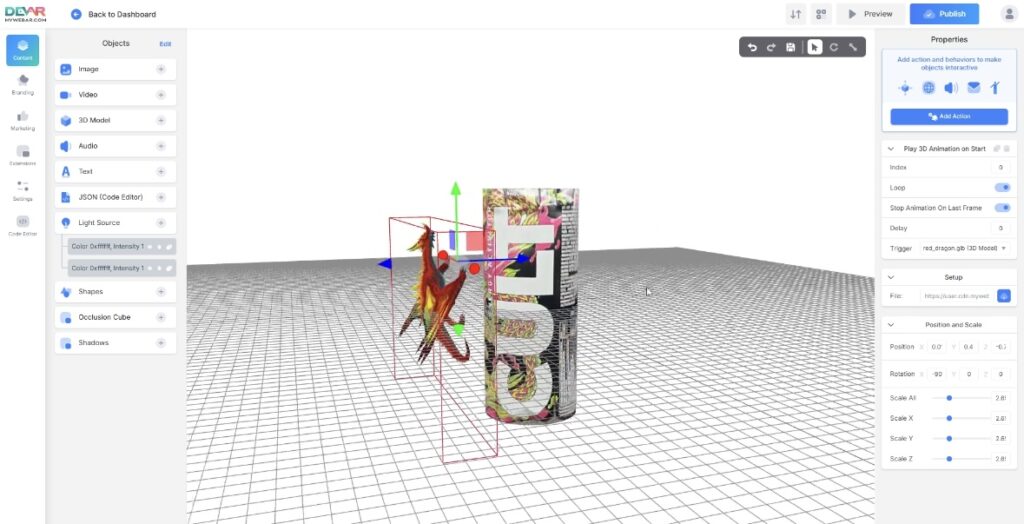
This is where the magic happens — experiment with positioning until your object feels integrated with the packaging.
Step 4: Preview your project
Before publishing, click “Preview” in the top right corner of the editor.
This allows you to test how your project will look on a real device. You can rotate the virtual can and see how the AR model behaves.
If something looks off, adjust the position or scale of your 3D model until you’re happy with the result.
Step 5: Publish and share
When everything looks good, click “Publish” in the top right corner.
After a short load time, you’ll receive:
- A link to your WebAR experience
- A QR code you can download and place directly on packaging, POS displays, flyers, or anywhere else.
That’s it — your cylindrical AR project is live and ready to delight your users.
Why cylindrical AR experiences work so well
As we’ve explored in our guide to AR for takeaway packaging, cylindrical objects are everywhere — and they’re perfect for storytelling and gamified interaction.
From revealing hidden characters on collectible cans to turning a coffee cup into a daily horoscope or game, AR adds a layer of magic to otherwise static products.
By using MyWebAR’s ““AR on a Curved Image” tracking, you’re not just adding AR — you’re creating a reason for people to return, collect, share, and engage.