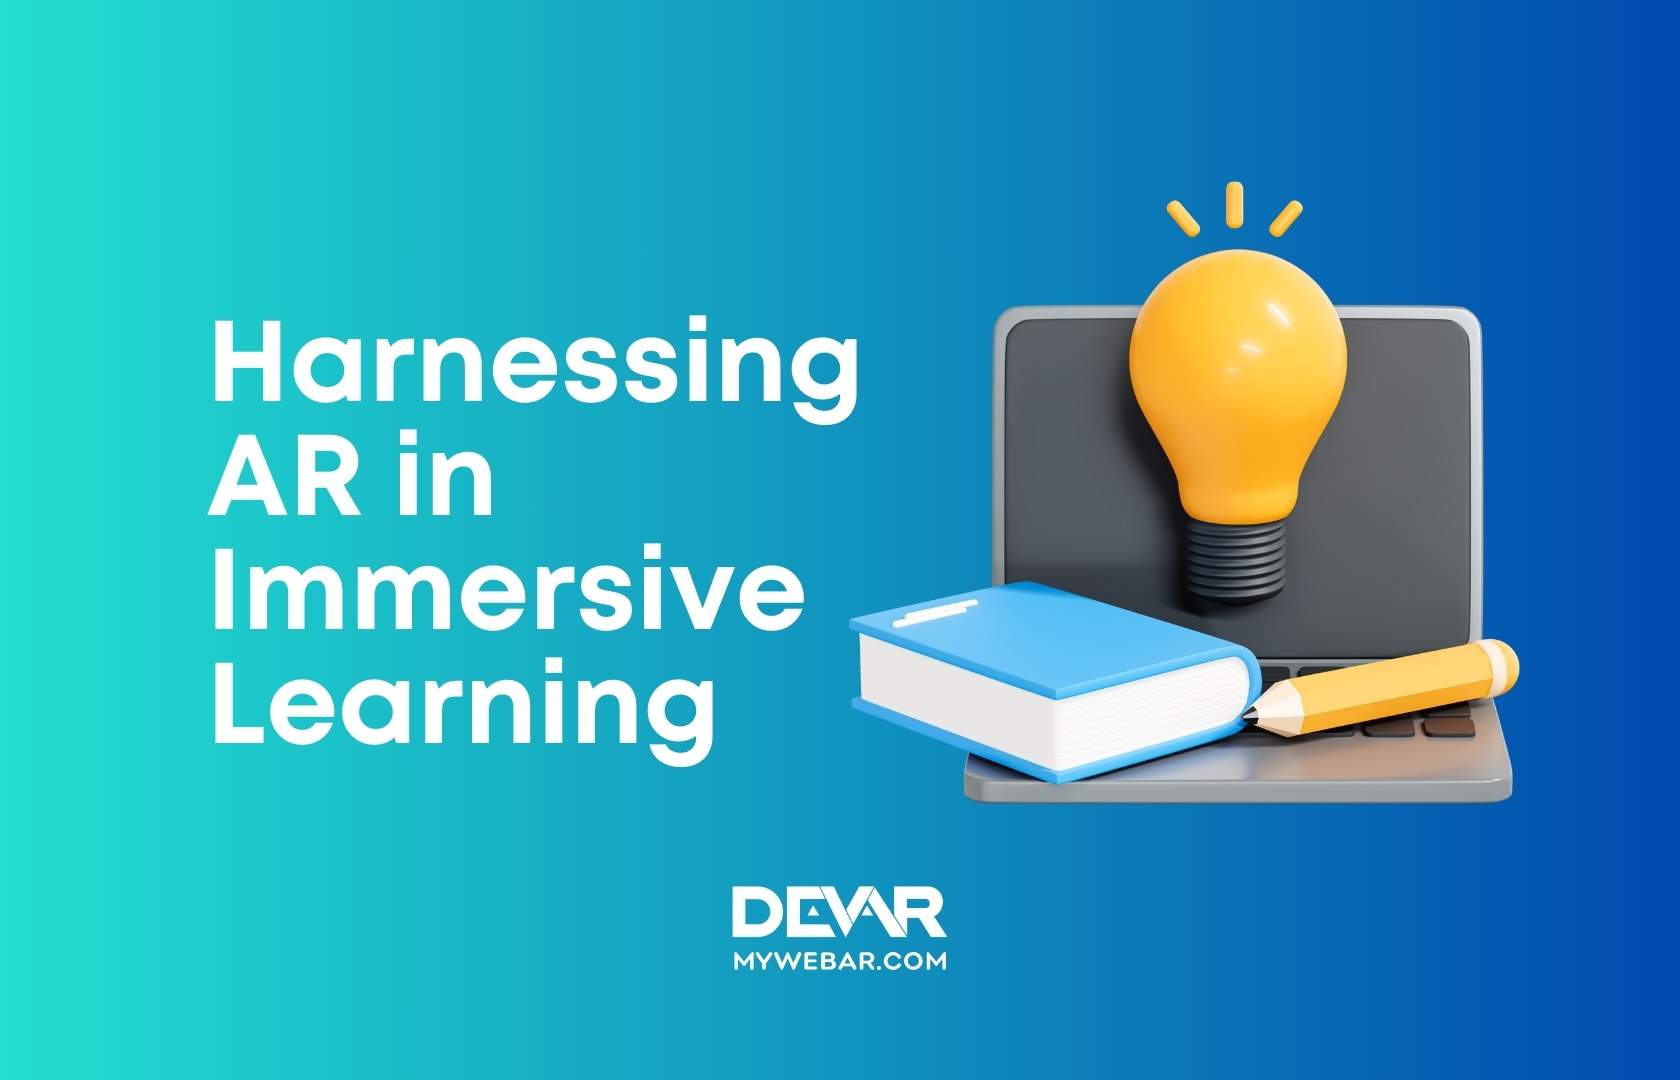
Ho-ho-ho! There’s not much time left until Christmas celebrations. That means it’s time to add augmented reality to your merchandise or gifts.
Give your users a unique and memorable experience that will engage participants, trigger their imagination, and leave a lasting impression.
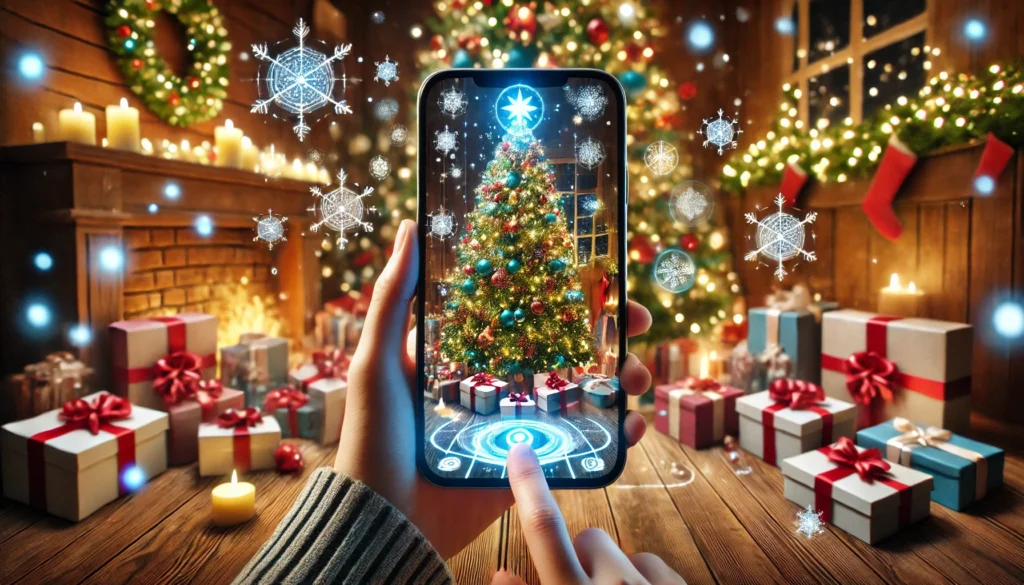
While this guide uses a Halloween-themed project as an example, the same steps can be followed to create your magical Christmas AR experience.
1. Choose your type of tracking.
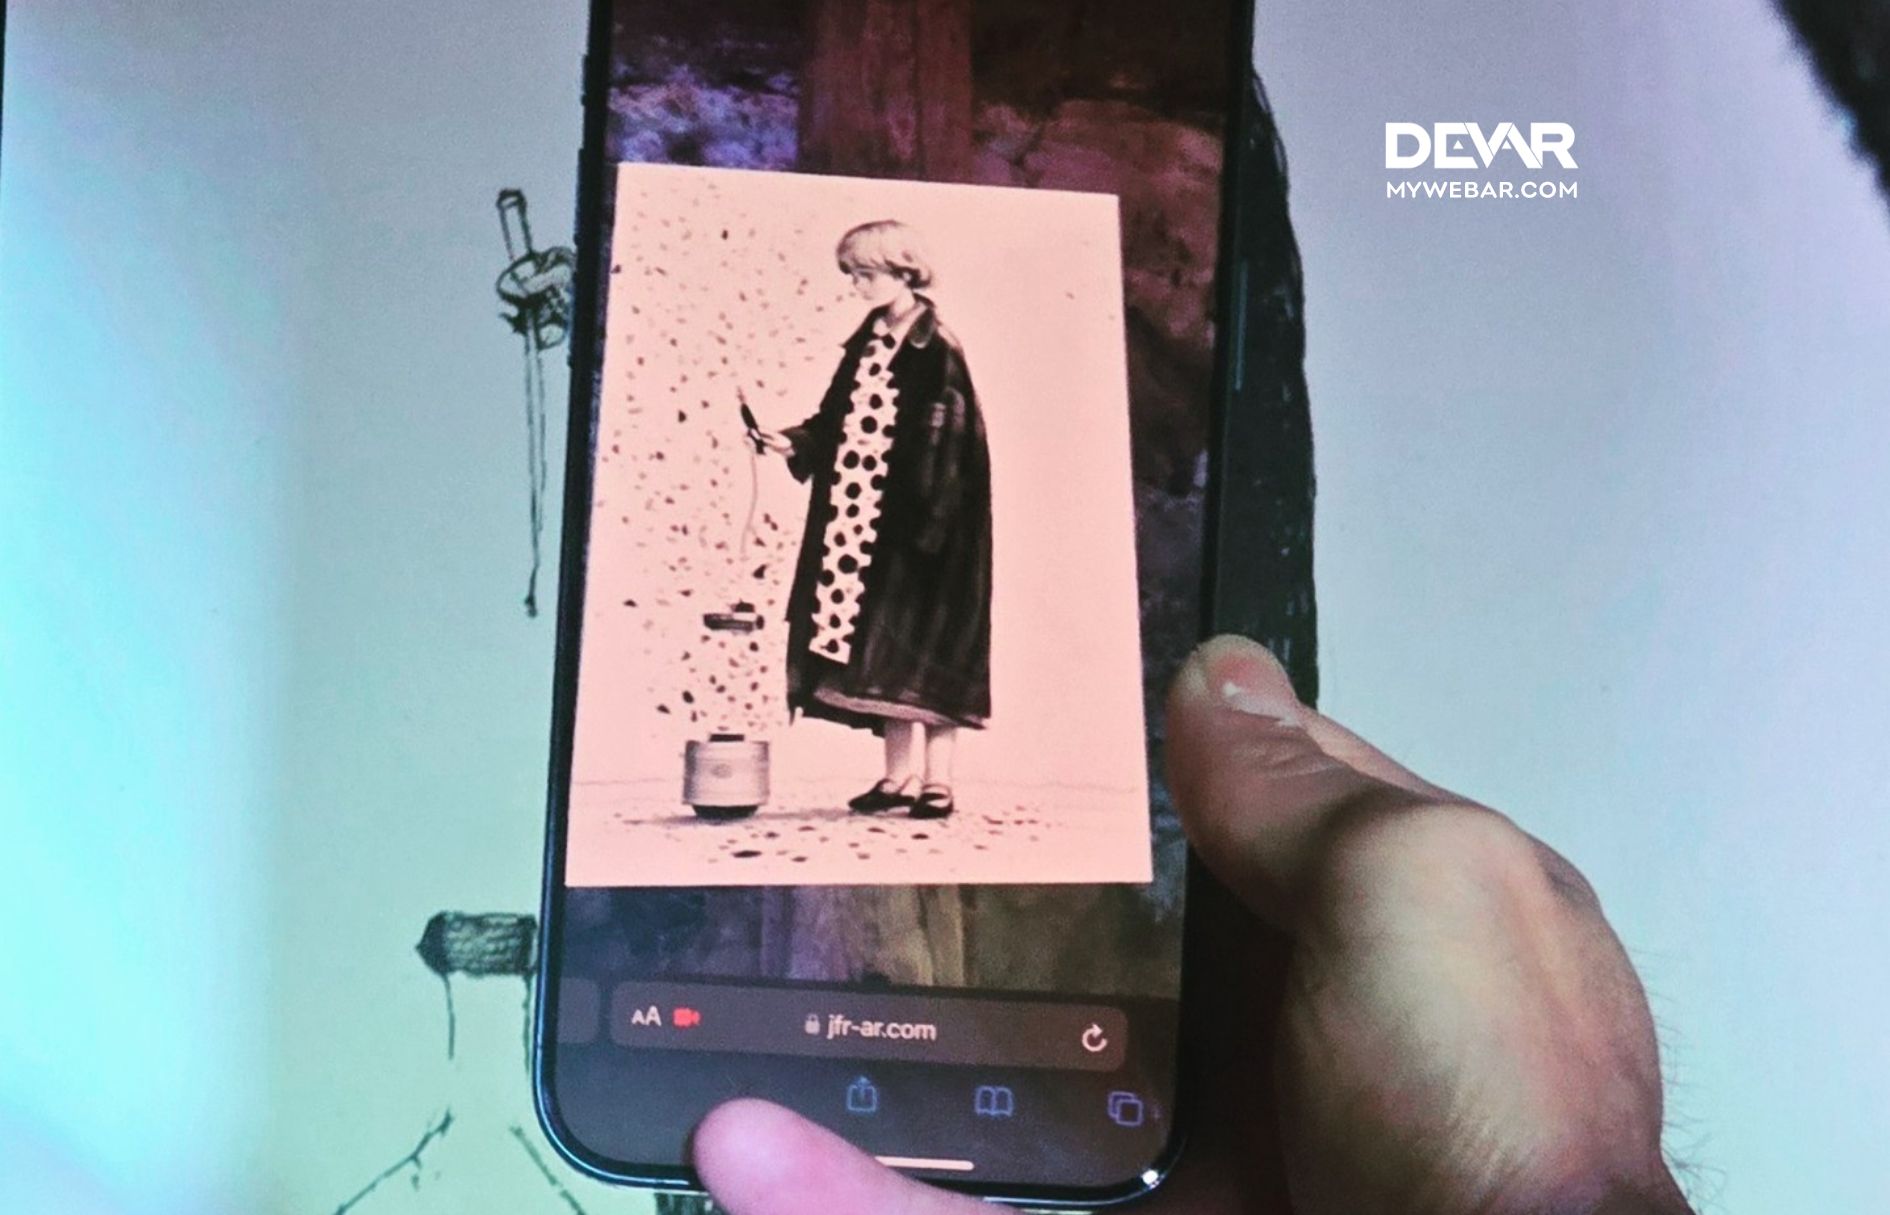
This time I recommended using Image Tracking. This type of tracking allows you to integrate different packaging.
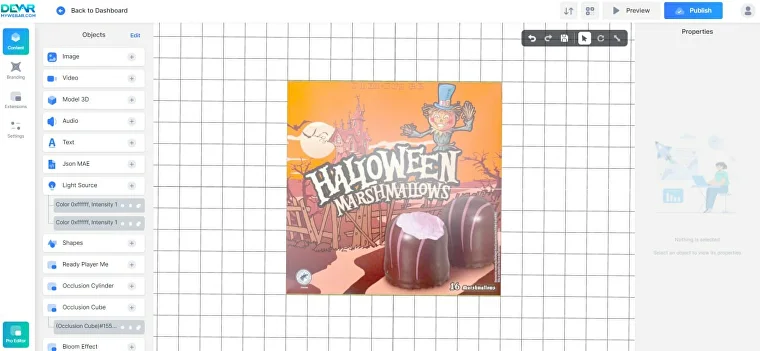
2. Upload the marker.
If you can’t find exactly the same image of your packaging, you can simply take a picture and upload it.
After uploading the marker, check the lights’ recourses. In case if your project opens without lighting, add Directional light and Ambient light.
3. Let the fun begin!
It’s time to choose 3D models for your project. This is my personal tips on how to find the idea and 3D models for it:
- Discover the marker. Maybe some details from your packaging can be used in 3D?
- Don’t forget about your global idea. If you are creating a project for Halloween, find some special 3D models like pumpkins, monsters, vampires, and so on.
Where to find 3D models?
- MyWebAR library
- Create your own on Blender
- Sketchfab library
4. Adding 3D models
Where are 2 ways how to add 3D models from the Sketchfab:
- You can activate Sketchfab plugin on your MyWebAR account and add models without downloading them.
- You can open Sketchfab in another window, find models, download them and after upload to the MyWebAR account.
For the projects with special effects (plugins) I reccomended to download models and after upload them to your account.
This time I will add few simple models and few animated.
Models from MyWebAR library:
- Spider ‘Black Widow’
- Ant
Models from Sketchfab:
- Spookie Pumpkin https://sketchfab.com/3d-models/spooky-pumpkin-6cd869e89b0940f29eb3dbf80c5a1451
- Witch Couldron https://sketchfab.com/3d-models/witchs-cauldron-5d04d27d281743799e3eea8578a979d2
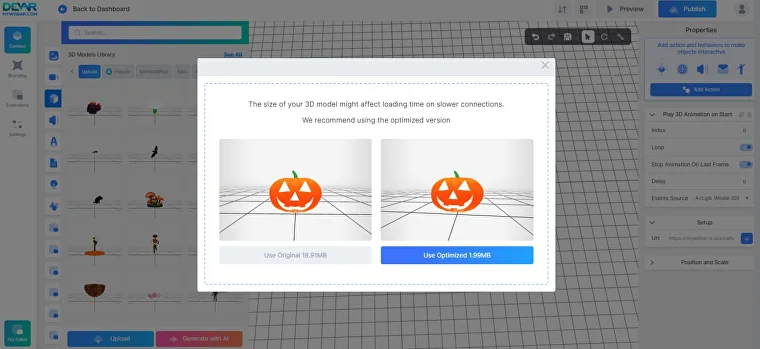
While your 3D models are upleading, always choose optimized model. It will safe your project’s store and make your project faster at the opening.
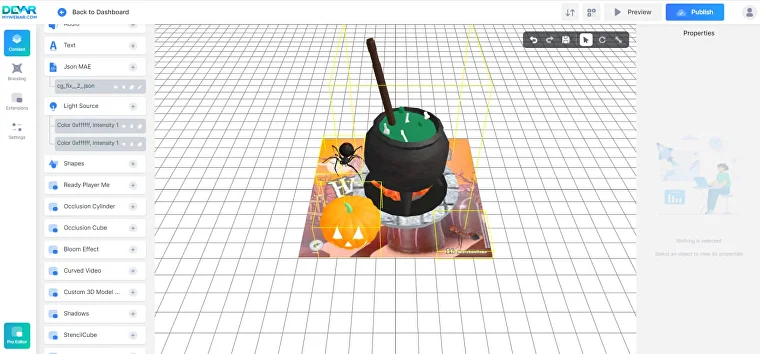
5. Making a scene
Don’t forget to put 3D models in the right place, to make the scene be more beautiful and aesthetic. Decide which 3D model will be the main, and put in the best place on your marker.
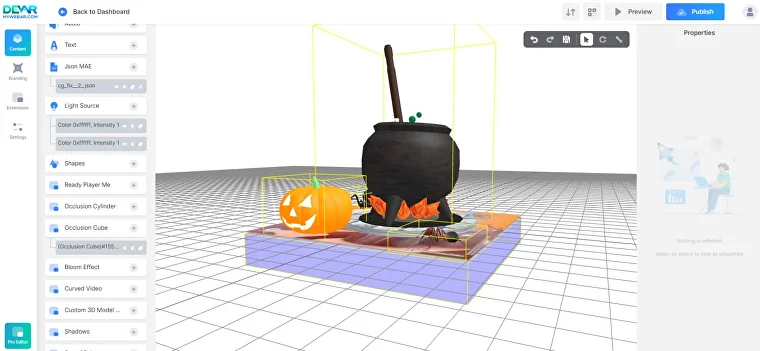
6. Adding an Occlusion
The occlusion plugin will help your 3D models be more sustainable. It is necessary if you are using two or more models and effects.
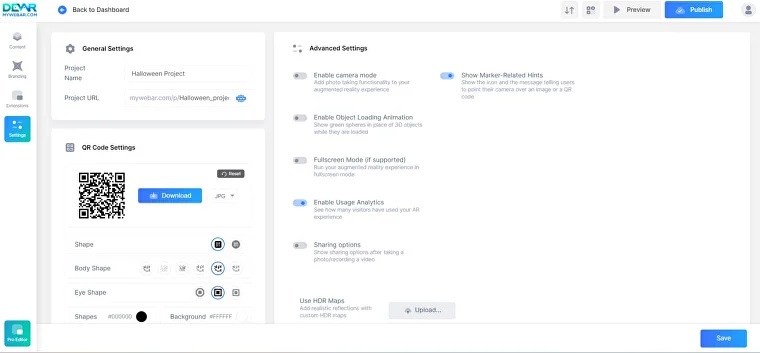
7. General Settings
One more important thing – your project name and URL. You can easily change it in Settings. Make your project name logical and easy to write, in case you can’t copy the URL address.
8. Share and have fun!
The project is ready! It’s time to share the QR code, and film videos for social media and tag @mywebar account!
Happy Holidays! 🎄