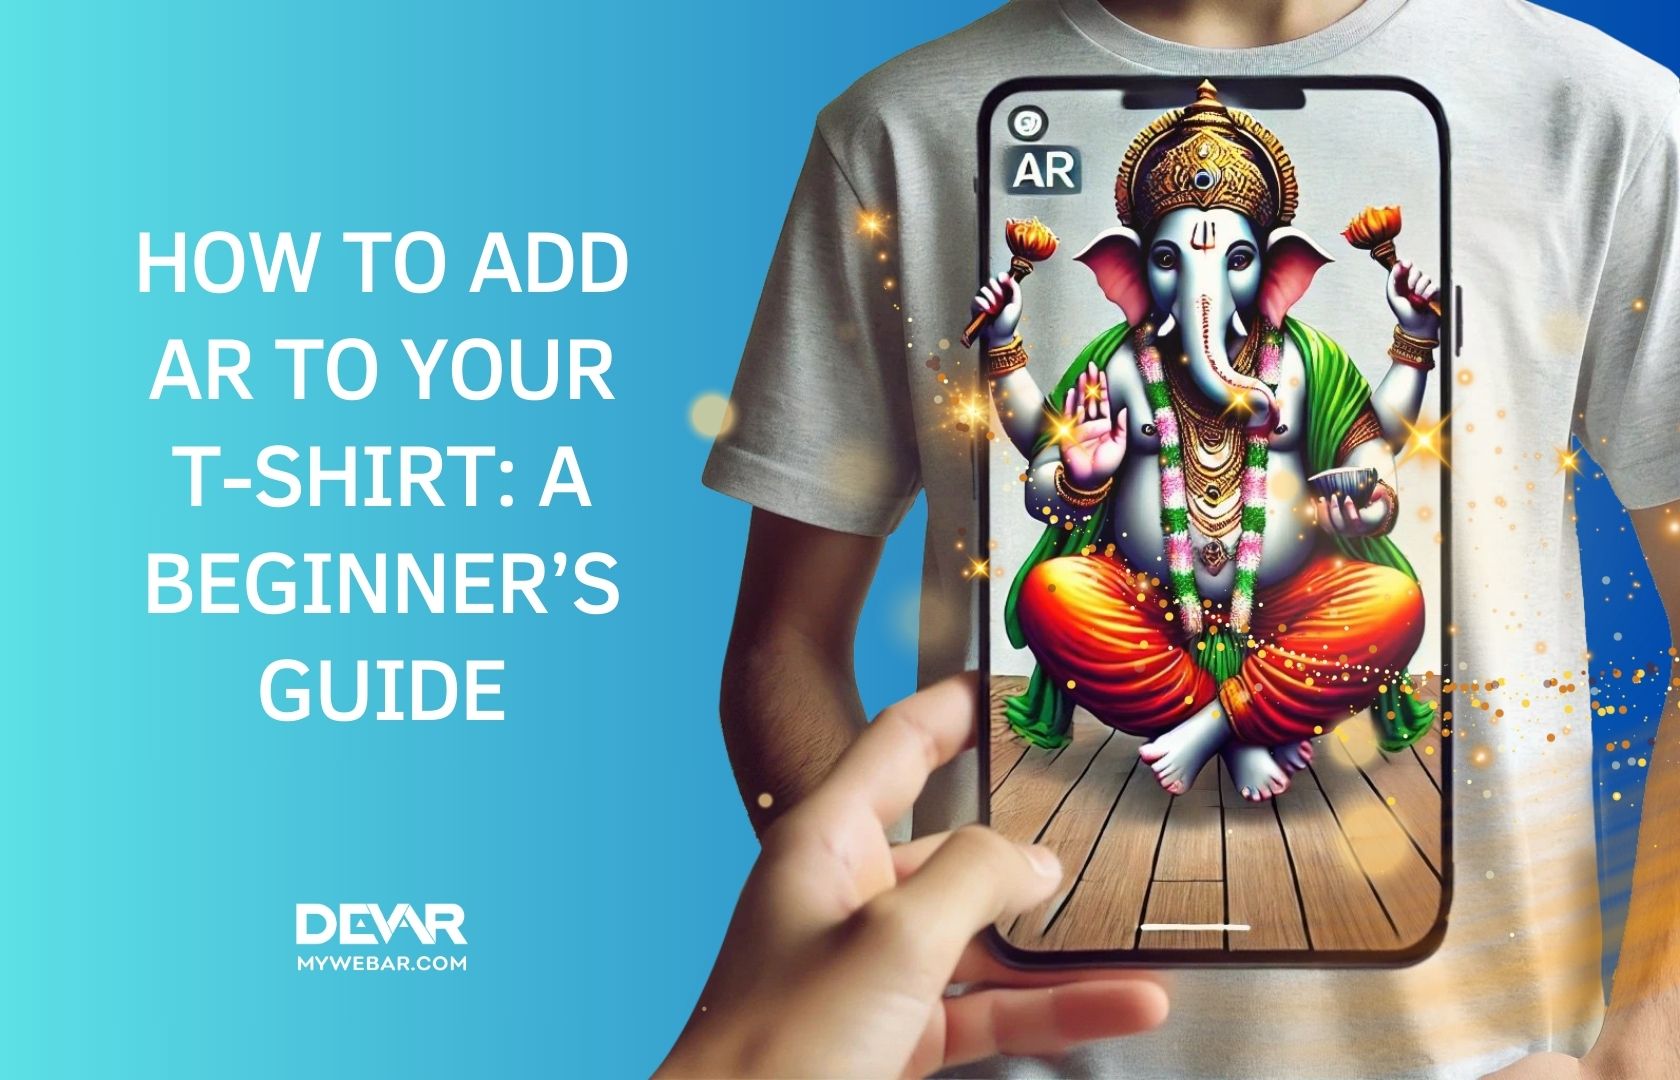
In September, India celebrates one of its most beloved holidays — Ganesha’s birthday. This festival, which lasts for 10 days, is marked with grand celebrations throughout the country. Inspired by the occasion, we decided to create something special: a t-shirt featuring Ganesha in augmented reality!
Step 1: Creating the Marker
To bring our t-shirt to life with AR, we first needed an image of Ganesha, which would serve as the marker for our project. For this, we asked ChatGPT to draw Ganesha in a naive style — a simple yet expressive form of art that brings out the fun, playful aspects of the deity.
Once our image was ready, it was time to prepare the AR project using MyWebAR.com.
Step 2: Creating AR with MyWebAR
Here’s a simple walkthrough on how you can add AR to your own merchandise:
- Find and download a 3D model of Ganesha.
We used an existing 3D model of Ganesha to integrate into our AR scene. - Search for the Abstract Visuals collection.
MyWebAR offers a variety of effects. From this collection, choose the visual effects that match your project. - Create an image project and add the marker.
Use the image of Ganesha as the marker that will trigger the AR experience. - Add the Ganesha model to the scene.
Upload and place the 3D model in the AR environment. - Adjust Ganesha’s position.
Ensure that the 3D model fits well within the AR scene by adjusting its location and size. - Add a rotation animation.
Bring your model to life by adding rotation effects. Always double-check to ensure that the animation runs smoothly. - Add an effect and resize it.
Add some abstract visual effects and adjust their size along one axis to fit your scene. - Configure the rest of the effects.
Experiment with different effects to enhance the overall visual experience. - Add lighting and save the project.
Lighting plays a key role in AR. Add suitable light sources, finalize, and publish your project.
Step 3: Printing the T-Shirts
With the AR experience set up, we went ahead and printed t-shirts with the Ganesha design. Once the project was complete, scanning the t-shirt with a smartphone instantly brought Ganesha to life in augmented reality!
Our Ganesha t-shirts with AR are now ready to wear and enjoy!
Enjoy Your AR Project!
Whether it’s for a special festival or to add a fun twist to your merchandise, adding AR to t-shirts is an exciting and creative way to celebrate.
Ready to bring your own merchandise to life with augmented reality?
Sign up on MyWebAR today and start creating your personal AR project for a t-shirt, cap, backpack, or any other item of your choice! It’s easy to get started, and with MyWebAR’s no-code platform, you can add AR to your merchandise in just a few steps.
Unleash your creativity — register now and make your designs stand out with augmented reality!